Showers with Plasterboard
Showers with plasterboard, also known as drywall or gypsum board, offer a versatile and practical solution for creating a waterproof and durable enclosure. Plasterboard is commonly used as the wall material in shower areas due to its affordability, ease of installation, and moisture-resistant properties.
Plasterboard offers a wide range of aesthetic options. Plasterboard can be finished with various textures, such as smooth or textured surfaces, to suit your desired look. Additionally, the choice of tile design, colour, and size allows for customization and personalization, creating a shower that matches your style and preferences.
Easy to maintain, regular cleaning and occasional resealing of grout lines help keep the shower area in good condition. In the event of damage or repairs, sections of plasterboard can be replaced without the need for extensive demolition, making repairs more manageable and cost-effective.
Step-by-step
Plasterboarding a shower involves several steps to ensure a watertight and durable enclosure. Here's a step-by-step process for plasterboarding a shower:
1. Measure and Plan: Measure the dimensions of the shower area and plan the layout of the plasterboard panels. Determine the number and sizes of panels required, accounting for any cutouts for fixtures such as shower valves or niche boxes.
2. Select Moisture-Resistant Plasterboard: Choose moisture-resistant plasterboard specifically designed for wet areas. Look for products labelled as "green board" or "aqua board" that have enhanced water resistance properties.
3. Install the Framework: Install a suitable framework to support the plasterboard panels. This typically involves constructing a wall frame using wooden or metal studs, ensuring they are plumb and securely fastened. Install horizontal blocking or noggins at appropriate heights to provide additional support for fixing the plasterboard.
4. Fit the Plasterboard Panels: Cut the plasterboard panels to fit the shower walls, making precise cuts for any openings or fixtures. Ensure there is a small gap between the panels and the shower tray or base to accommodate silicone sealing later. Fix the plasterboard panels to the framework using appropriate screws or nails, spacing them according to manufacturer recommendations.
5. Seal Joints and Corners: Apply joint compound or plasterboard joint tape to the seams between the plasterboard panels and at the corners. Embed the joint tape in a layer of joint compound, ensuring a smooth and even finish. Feather the edges to blend the joints with the surrounding plasterboard.
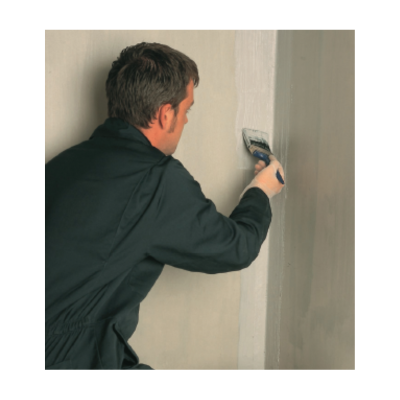
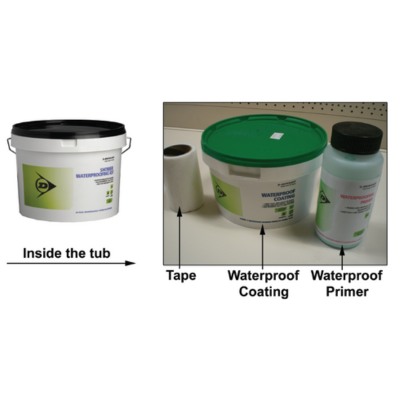
6. Apply Waterproof Membrane: Apply a waterproof membrane or tanking system to the plasterboard surface, following the manufacturer's instructions. This membrane acts as a barrier to prevent water penetration into the wall cavity. Ensure the membrane covers the entire shower area, including the seams and corners.
7. Tile Preparation: Prepare the plasterboard surface for tile installation. This may involve applying a suitable tile primer or sealer to enhance adhesion and protect the plasterboard. Follow the product instructions for proper application and drying time.
8. Tile Installation: Install the tiles on the prepared plasterboard surface, adhering them with a suitable tile adhesive. Use spacers to ensure even spacing between tiles. Allow the adhesive to cure according to the manufacturer's recommendations. Once cured, grout the tile joints to create a watertight and visually appealing finish.
9. Seal and Finish: After the tile grout has fully dried, seal the grout lines using a suitable grout sealer. Additionally, apply a silicone sealant around the edges of the shower tray or base, as well as any joints or corners, to ensure a watertight seal.
It's important to note that plasterboarding a shower requires attention to detail, proper waterproofing, and adherence to building codes and regulations. If you're unsure about any step or aspect of the process, it's recommended to consult a professional or experienced contractor to ensure a successful and durable result.