Painting Your Stairs: A Quick Guide
Thursday, 24 January 2019 14:50:35 Europe/London

The first step for painting your staircase is the most important because it dictates precisely what your staircase will look like. You must decide what colour scheme and design you wish to create.
If you are still looking for that spark of inspiration, there are thousands of ideas out there, including on our website.
We have hundreds of case studies detailing different style options so you can find the one that suits your home: take a look.
We also have a Pinterest page, full of images to get you feeling creative.
|
| |
|
|
|
|
|
|
| |
 |
|
Prepare
Is your staircase ready to be painted? Is it all clean and sanded? If not, you may want to take some time to prepare the surfaces you intend to paint.
First off, a bit of an obvious one, there can’t be a carpet.
Not unless you want your stairs to look like they were decorated by the guests at a 6-year-old’s birthday party on a sugar rush.
So if you do have a carpet, you will need to carefully remove it.
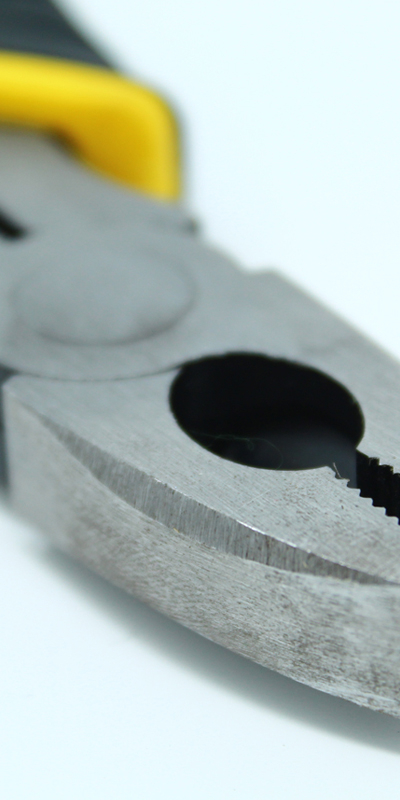
We recommend using pliers, a wonder bar, a utility knife, sandpaper, a putty knife and wood filler.
Starting at the top, free the carpet from the gripper bar with the wonder bar and start prying it off,
being careful not to damage any surface that will be painted or visible.
If you are dealing with one long roll of carpet, slice it into sections with the utility knife as you go, to make disposal easier.
If there are any tack trips or grippers that you want removed, the wonder bar is going to be the best solution for them too.
Once you are down to the wooden surfaces and the carpet is out of the way, get to sanding.
Remember to sand with the grain for a tidy and uniform finish. A sanding machine will make this task a lot easier.
Next use the wood filler to cover up any holes or damage from the carpet removal or general wear and tear.
|
|
| |
 |
|
| |
Prime
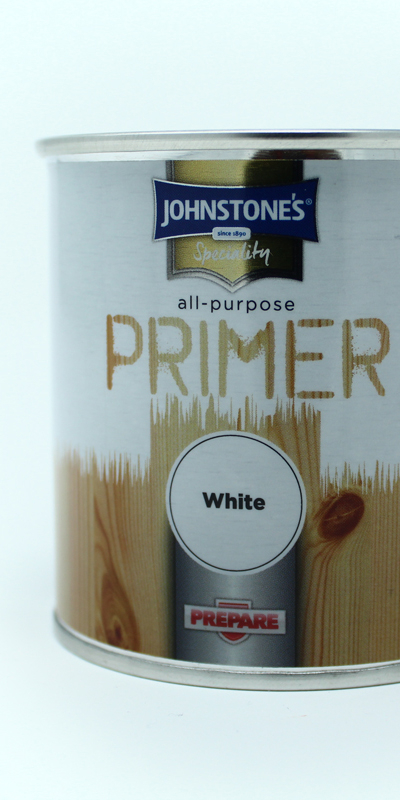
Neglecting to prime is a big mistake when doing home improvements. Priming gives a sleek finish for the paint to take to without soaking into the wood. Once the primer has dried, go over it with some fine-grained sandpaper and wipe away any blemishes.
You are almost ready to pop open the paint lid. We recommend that you now mark every other tread lightly with pencil, and make sure any surfaces you don’t want paint on are well masked. If you have chosen to apply a stencilled effect, make sure the stencils are applied.
|
|
 |
|
| |
 |
|
| |
 |
|
Paint
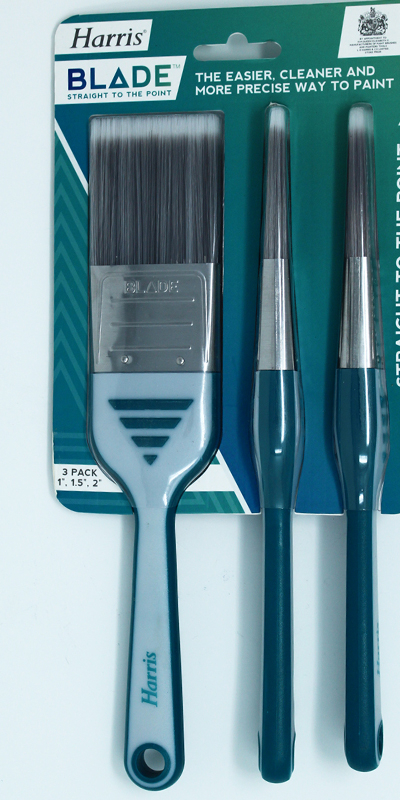
Now it is time to apply the first coat. Use a fine brush to get into any detailed areas and achieve a smooth finish. A roller can speed things up but be aware, rollers cannot reach tight corners and also have a habit of leaving a texture in the paint or even small bubbles. The best method is to apply the first layer with a brush. Further coats can be applied with a roller, but be aware that you may need to tidy it up with a brush afterwards. You will need a minimum of two coats for a finish that lasts.
As you finish the first step, you may remember that we recommended marking every other tread. If this staircase is the only access to a floor, you will want to skip these treads until the rest of the stairs have had their final coat. This is because floor paints need about a day to dry thoroughly, and if you do the entire staircase at once then you are going to be stranded at one end of it for a day. Apply coats in batches and you will still be able to get about.
Once the flight is fully dried, remove any masking or stencils and congratulations, you have successfully painted your stairs.
|
|
| |
|
|
|
|
|
|
| |
|
|
|
|
|
|
| |
|
|
|
|
|
|
| |
|
|
|
|
|
|
| |
|
|
|
|
|
|
| |
|
|
|
|
|
|
| |
|
|
|
|
|
|
Posted in
News
By
Owain Farrington


